Overview: This article will tell users how to transfer files including information, pictures, videos, memos and other files to ZTE Blade V40s from four aspects and how to retrieve the Deleted/Lost Data on ZTE Blade V40s.
ZTE Blade V40s is equipped with Unisoc T618 chip of Ziguang Zhanrui, and its front is a 6.67-inch 2400 x 1080 resolution center-dug face-to-face screen. ZTE Blade V40s has a rear 50 million+2 million dual-camera scheme and a front 8 megapixel single camera. In addition, the machine is also equipped with a 4500mAh battery, which supports 22.5W wired charging.
ZTE Blade V40s is excellent in hardware configuration, design and software configuration, and it is worth buying by users. After getting the brand-new ZTE Blade V40s, it is very important to synchronize the contacts, information, calendar, pictures and videos on the original Android/Samsung mobile phone. Next, this article will introduce the most suitable methods to synchronize and recover data in different situations.
We recommend that users use Mobile Transfer to complete the data migration from Android/Samsung to ZTE Blade V40s. Mobile is a professional data synchronization software. Even people who are not proficient in using computers and mobile phones can easily and successfully transfer their desired data according to its guidance. The most remarkable advantage of Mobile Transfer is that it can scan the user's device deeply, and the types of files transferred are unlimited, and the security is excellent. After downloading and installing Mobile Transfer, you can follow the following steps to transfer data.


Part 1 Sync Android/Samsung Data to ZTE Blade V40s
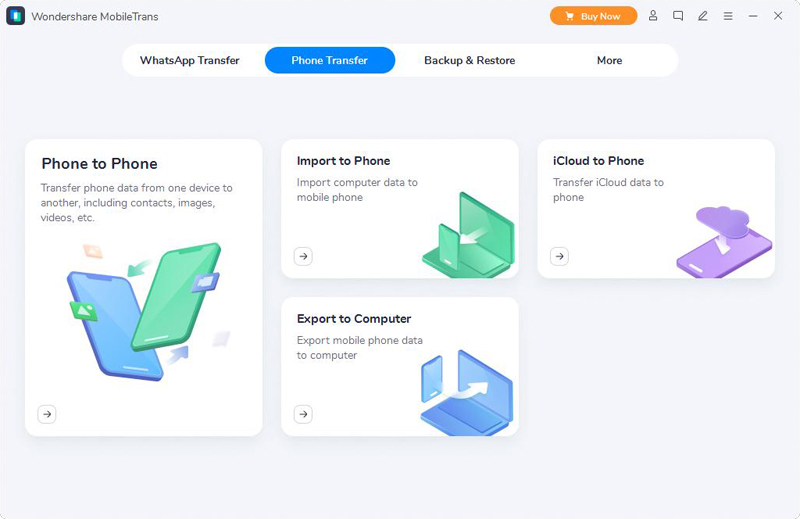
Step 1. Open the Mobile Transfer, click "Phone Transfer" on the home page, jump to the next page and then click "Phone to Phone".
Step 2. Connect the original Android device and ZTE Blade V40s to this computer with their USB cables.
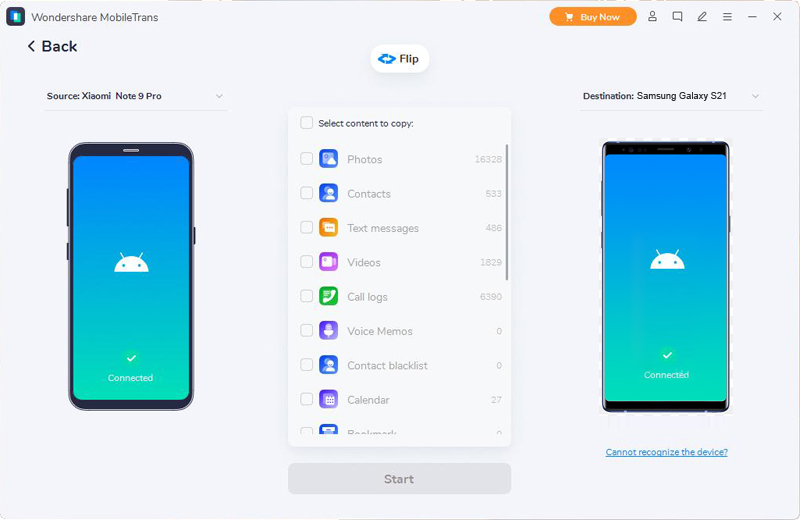
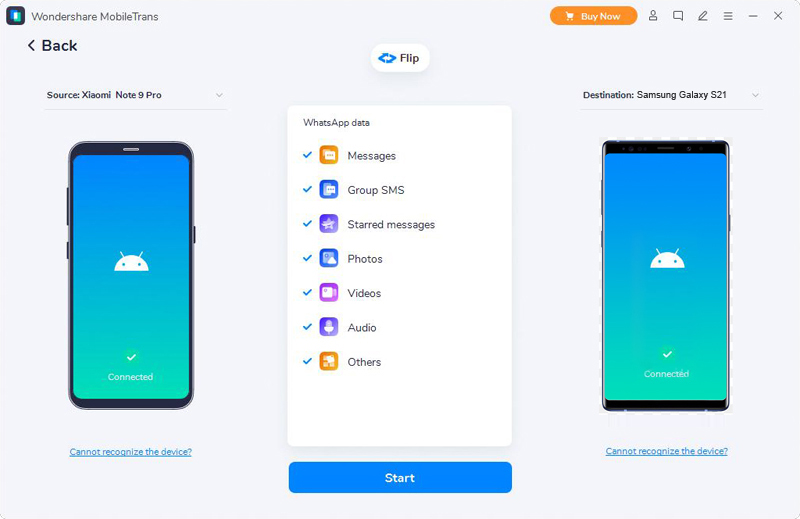
Tip: After the mobile phone is successfully connected to the computer, the software will automatically identify the two devices. If there is a recognition problem, click "cannot recognize the device" in blue font Prompt options for help. Click the "Flip" option on the page to switch the track where the original Android device and ZTE Blade V40s are located. Please make sure that your ZTE Blade V40s is on the "destination" track.
Step 3. Select the file you want to synchronize from the file preview list. Click "Start" to start the task.

Part 2 Transfer WhatsApp/Wechat/Line/Viber/Kik Messages to ZTE Blade V40s
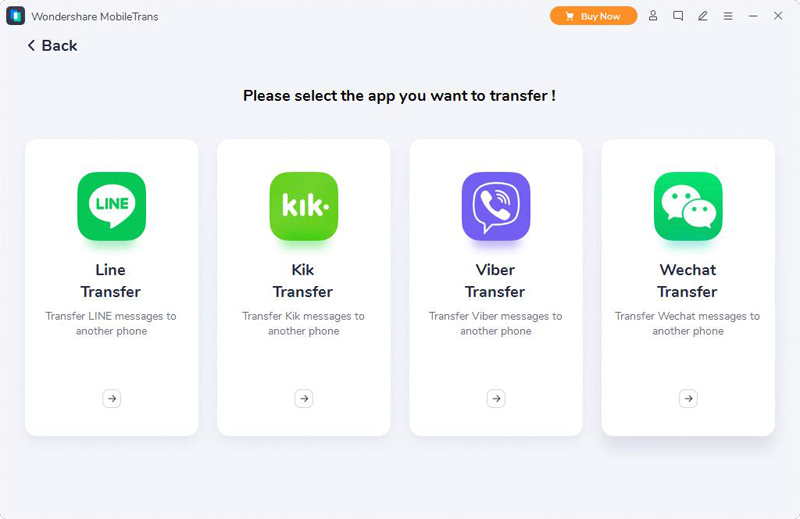
Step 1. Open Mobile Transfer and click "WhatsApp Transfer" on the homepage to go to the next page. According to the software to be synchronized, select the corresponding option on the lower page.
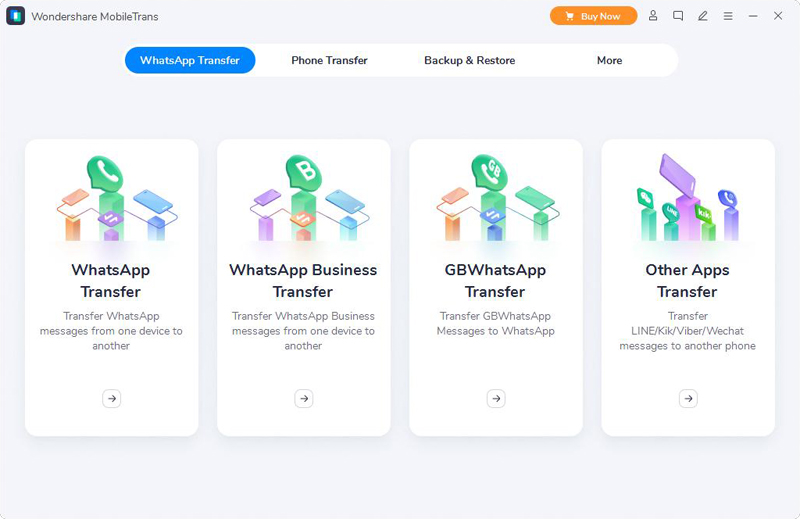
Note: As you understand, the first three options are used to transfer your WhatsApp data. And the last one is used to transfer your Wechat/Line/Kik/Viber messages. Please choose the corresponding item as you need and go on.
Step 2. Connect the original Android device and ZTE Blade V40s to this computer with their USB cables.
Step 3. Select the data in the file preview list and click "Start" to start data synchronization.
Android Data Recovery is the leader in many data recovery software. Android Data Recovery is easy to handle, whether it's a clean data recovery, a formatted file recovery, or a mistakenly deleted file recovery. It can provide users with a preview page of the scanned files and accurately recover the data. Only a few simple steps can complete the data recovery. It is strongly recommended that users download Android Data Recovery and follow the instructions below.
Part 3 Directly Recover Deleted/Lost Data on ZTE Blade V40s without Backup
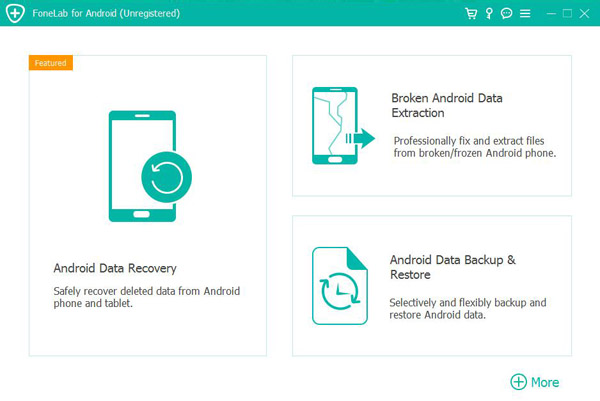
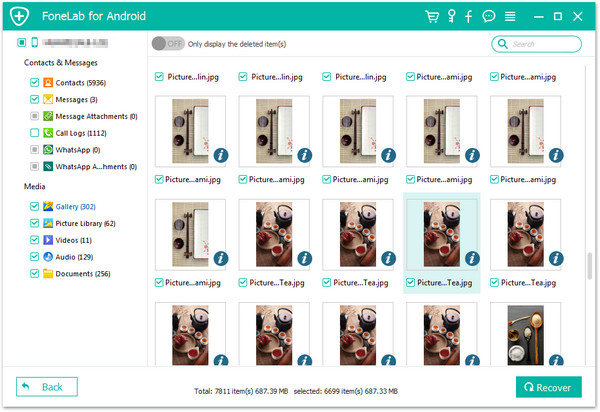
Step 1. Open the software and click the "Android Data Recovery" option.
Step 2. Connect ZTE Blade V40s to this computer with USB cable and enable USB debugging mode on the mobile phone. Then click "OK".
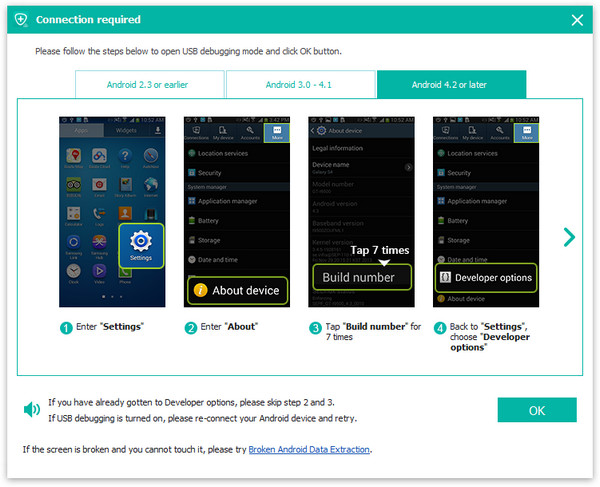
Tip: Please follow the next steps to enable USB debugging. enter "settings" > click "about mobile phone" > click "Build number" several times until prompted "you are in developer mode" > return to "settings" > click "developer options" > check "USB debugging".
Step 3. Wait for the software to automatically identify your ZTE Blade V40s, and then click "Next".

Step 4. After waiting for the software to finish scanning the mobile phone, select the file to be restored and click "Restore".
Part 4 Restore Data from Backup to ZTE Blade V40s
First of all, this article introduces users to the method of using Mobile Transfer to synchronize backup files to ZTE Blade V40s.
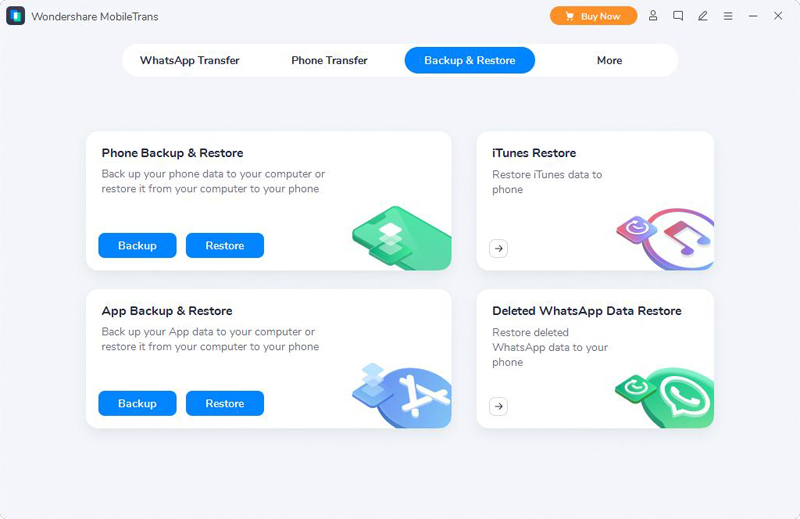
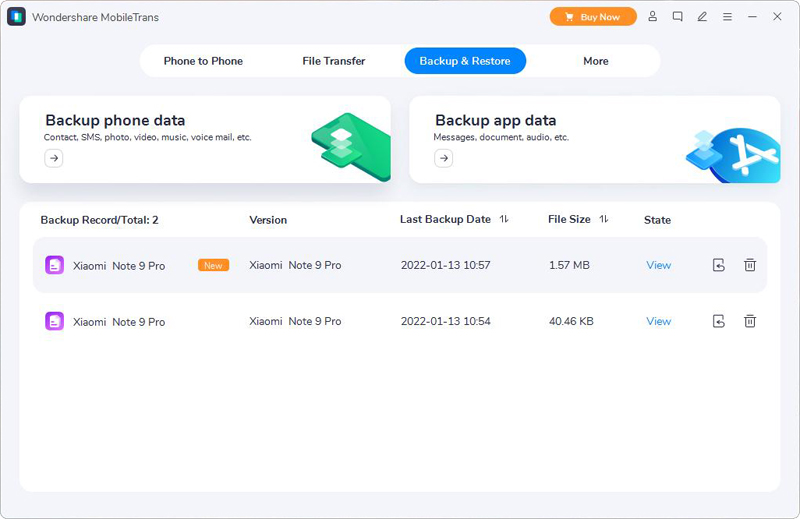
Step 1. Open the Mobile Transfer, starting from the initial page, click "Backup & Restore" > "Phone Backup & Restore" > Choose a backup file from the list > tap on "Restore".
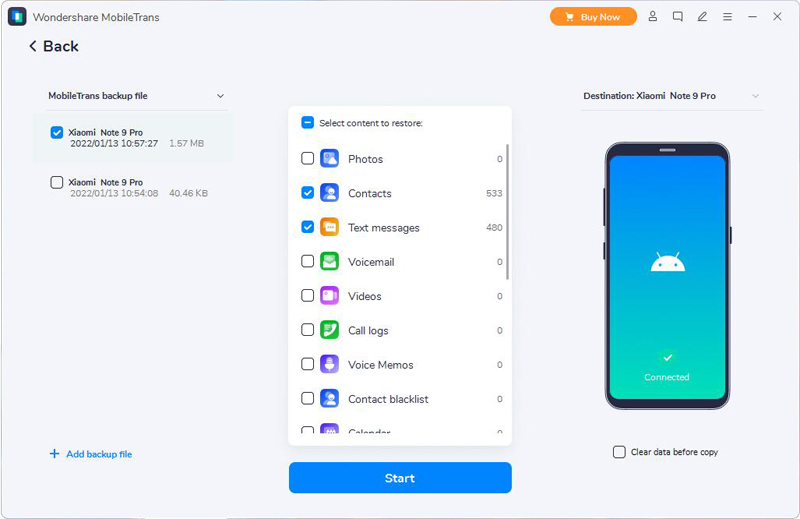
Step 2. Connect your ZTE Blade V40s to the computer with its USB cable, and wait for the selected backup file to extracted.
Step 3. Click "Start" to start synchronizing the data locally.
The next step is to use the Android Data Backup & Restore approach. Android Data Backup & Restore is a practical data synchronization software. It not only generates a file preview table, but also specifies the path of the data transfer task. Android Data Backup & Restore can synchronize cloud backup data to ZTE Blade V40s with only 1 cable connecting the phone and the computer.
Step 1. Run the software, then click on“"Android Data Backup & Restore".
Step 2. Connect ZTE Blade V40s to the computer by USB cable, and then click "Device Data Restore".

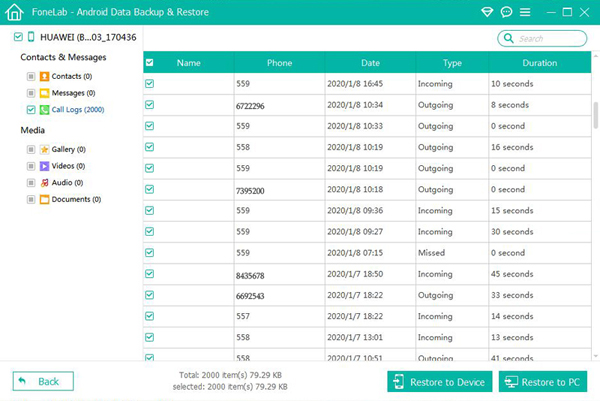
Step 3. Waiting for your phone to be recognized, select the backup files then click “Start” to preview data from the backup.
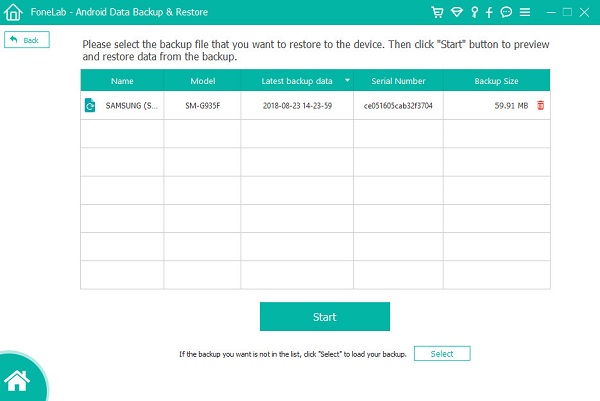
Step 4. Select the files you need to restore,then click “Restore to Device”.