Overview: The best way to recover deleted and lost data including images, documents, audio, video, email and more from your iMac Pro even without backup, and this article will tells how to backup your data from iMac Pro to external hard drive with Time Machine.
Since its first release in 1998, Apple's iMac series has undoubtedly been favored by consumers and business users. It is loved by design industry professionals and those looking for beautiful desktop design. They are powerful and beautiful, and now its latest line of iMac Pro has been upgraded to another level, with performance that powers some of the most labor intensive workloads.
This powerful machine has attracted the purchase of many video and design staff. However, there are a lot of problems in a lot of use. After all, not everyone is familiar with the Mac's operating system. Data loss is the most common problem. If you have deleted the datas, you can use software to restore them. Here I will introduce a practical software - Best Data Recovery.
This powerful Best Data Recovery software can help you recover any data type such as images, documents, audio, video, email and more. Whether you're losing data because of deleted, formatted partitions, hard drive problems, raw hard drives, crashed computers, or other reasons, this file recovery software is always your best choice. More importantly, if you care about the security of your important data, this file recovery tool can also be your first choice. When you retrieve a lost image, audio, video, document, or email, it does not store any of this data on its server. This reliable data recovery will ensure data security.


Part 1 Restore Deleted and Lost Data on iMac Pro
Step 1. Run the data recovery software on your iMac Pro
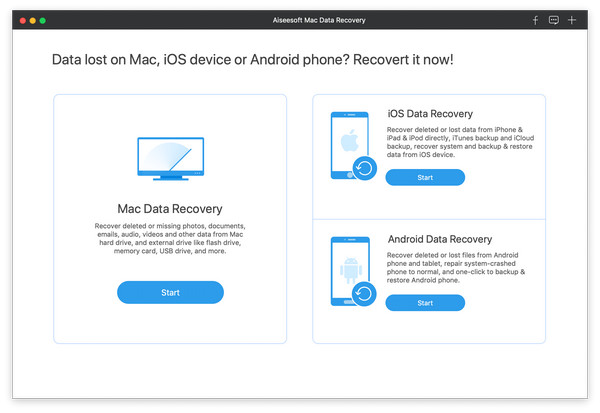
Just like using other software, you must first download and install this data recovery software on your iMac Pro. After running, select "Mac Data Recovery" on the main interface.
Step 2. Disable System Integrity Protection
If your iMac Pro is running Mac OS X El Capitan or higher, then you need to disable system integrity protection for subsequent data recovery operations.
Note: If you don't understand how to do this, click on the link and follow the instructions to complete the operation.
Once you're done, you're ready to operate Mac data recovery on your iMac Pro.
Step 3. Scan your iMac Pro for the lost data
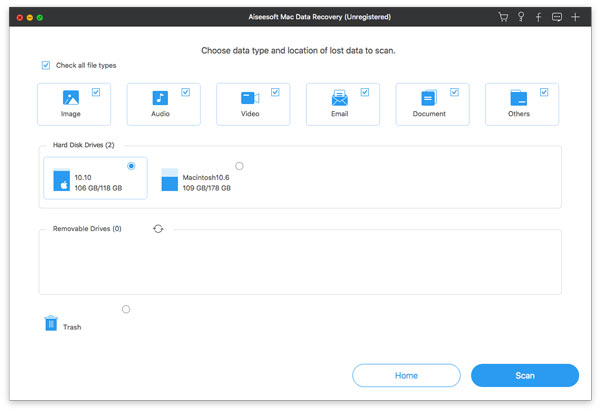
In the main interface, select the disk where the data exists according to your usage habits, including external storage devices such as camera cards and flash cards. The types of data are varied, and Mac Data Recovery can help you recover all kinds of data commonly used in life, such as images, audio, video, email, documents and other data. As for the drive, you need to check your iMac Pro drive. Then click on "Scan" to start a quick scan of your iMac Pro.
Step 4. Recover data on your iMac Pro
After a while, the scan will be completed very quickly. After the scan is complete, you can see the basic data type in the left pane. Click it to view the data details on the right window. After selecting the data you need, click "Restore" to extract the lost or deleted data to your iMac Pro.
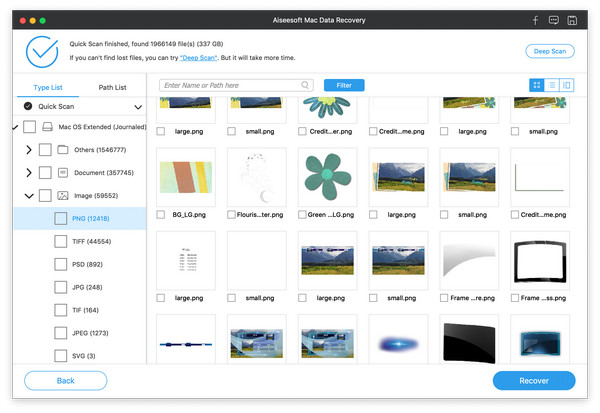
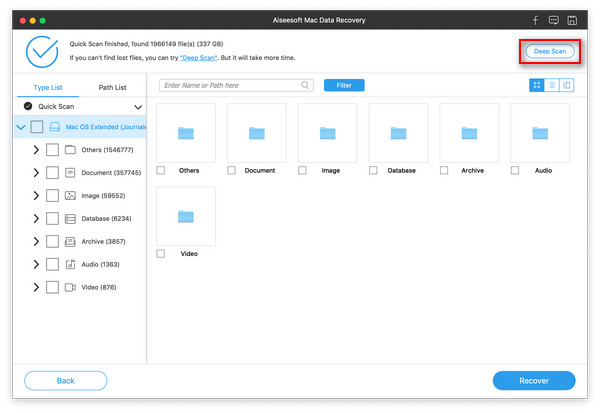
Note: If you can't find the data you want to recover, just start Deep Scan and you'll spend more time thoroughly scanning your iMac Pro data.
Part 2 Back Up Your Data from iMac Pro to External Hard Drive with Time Machine
Although there are a lot of data recovery softwares on the market, but develop good backup habits, back up your data regularly, so you can use your iMac Pro more confidently.
Step 1. Connect a external hard drive to your iMac Pro via a data cable (usually a USB, Thunderbolt, FireWire drive or eSATA cable, etc.).
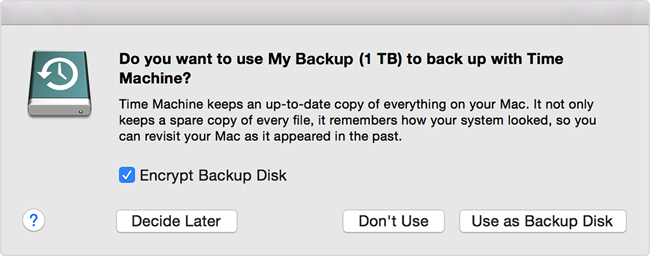
Step 2. When your external hard drive is detected, by defult, a dialog will pop up automatically and ask you whether want to use this external hard drive to back up with Time Machine. Now, please click on "Use as Backup Disk" to go on.
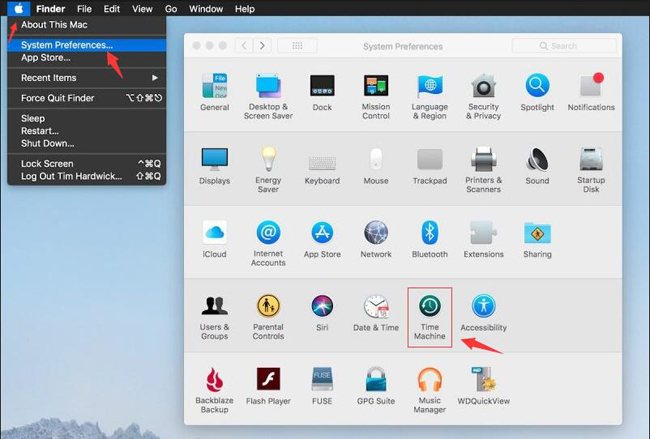
If Time Machine doesn't ask to use your drive, please go to Apple menu > System Preferences…, then click on "Time Machine".
Tips: For older versions of the macOS system and Time Machine, please make sure the "Time Machine" button is enable.
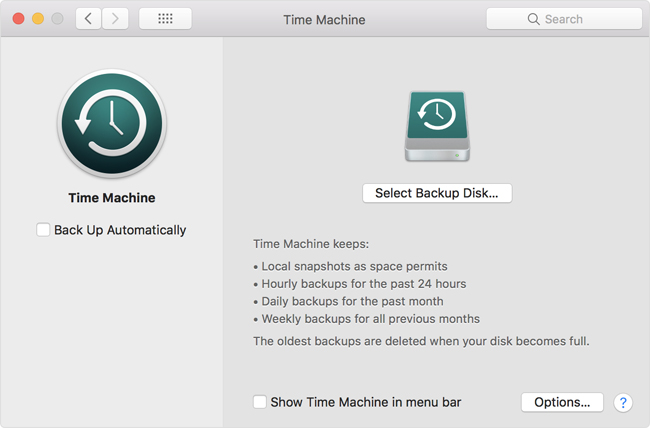
Step 3. Skip to next screen, please click "Select Backup Disk…" (or Select Disk, or Add or Remove Backup Disk).
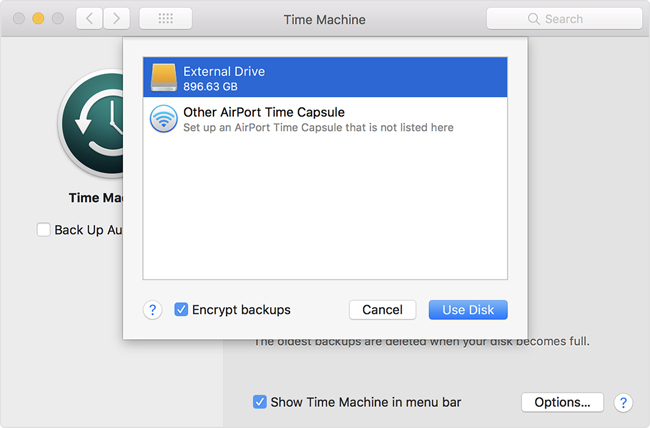
Step 4. Select a available external hard drive as you like. Then tick the "Encrypt backups" box according to your need and click on "Use Disk".
Note: You will be asked to erase the disk first if the selected disk is not formatted as required by Time Machine, just click "Erase" to proceed. If done, the program will automatically back up your iMac Pro, the time it takes to back up will depend on the amount of data you have, please wait patiently until the backup is complete.
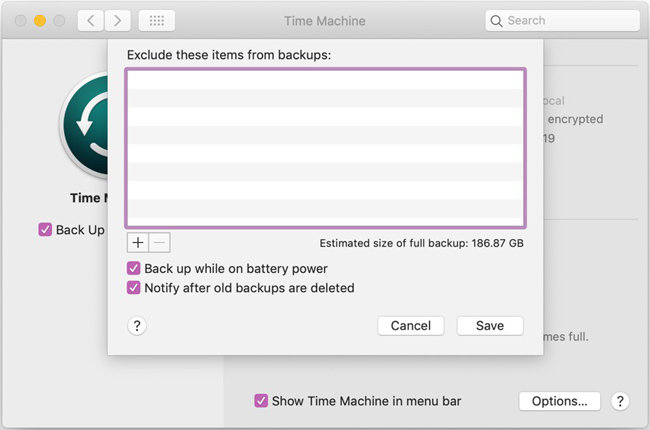
Besides, you can click "Back up automatically" in the main window of Time Machine to activate automatic backup option, and click "Options…" > click "Back up while on battery power" > click "Notify after old backups are deleted" > click "Save".