Overview: Summary: How to recover lost Data/Photos/Messages/Contacts/Videos from iPhone SE? The following article will give you five ways to do this.
A good phone can help us to deal with our work and life, but when we use it, we inevitably lose important data for some reason. If your iPhone SE has lost data due to automatic system updates, viruses from connecting to public WiFi, external shocks, memory overloads, etc., then this article can help you. This article has prepared different methods to help you recover data from your iPhone SE.
Methods Outline:
Method 1: Recover Data/Photos/Messages/Contacts/Videos directly from iPhone SE without backup
Method 2: Extract lost iPhone SE data from iTunes backups
Method 3: With iCloud Backup, recover iPhone SE Data/Photos/Messages/Contacts/Videos
Mehtod 4: Find iPhone SE Data/Photos/Messages/Contacts/Videos via iCloud Drive
Mehtod 5: Restoring iPhone SE Data/Photos/Messages/Contacts/Videos via Google Drive
Method 1: Recover Data/Photos/Messages/Contacts/Videos directly from iPhone SE without backup
Even if you don't have backup files, you can still recover your data with the help of iPhone Data Recovery.
An important feature of iPhone Data Recovery is its powerful search engine, which is able to deeply scan your device, analyse the file types in the iPhone database and provide a full preview after a successful scan. In addition, users can use it to restore backup files from iTunes/iCloud in order to recover only call logs and not the entire backup overlay of the current content on the iPhone.


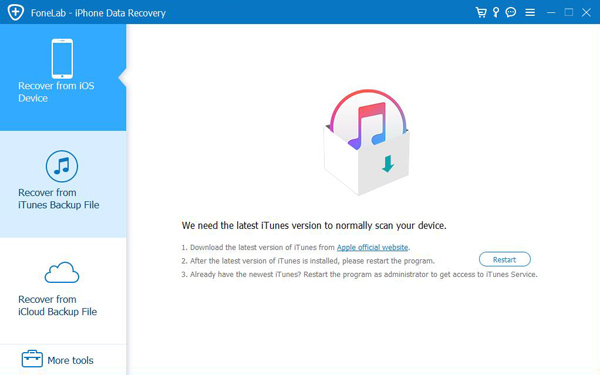
Step 1: Download the software
Install the iPhone Data Recovery software on your computer and select "Recover from iOS device" mode on the left side of the screen.
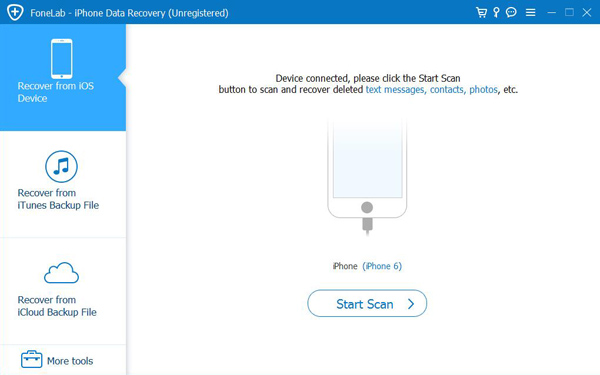
Step 2: Scan your iPhone SE
Connect your phone to your computer using USB and click "Start Scan" once you have successfully connected. Once the software has finished scanning, continue to the next step.
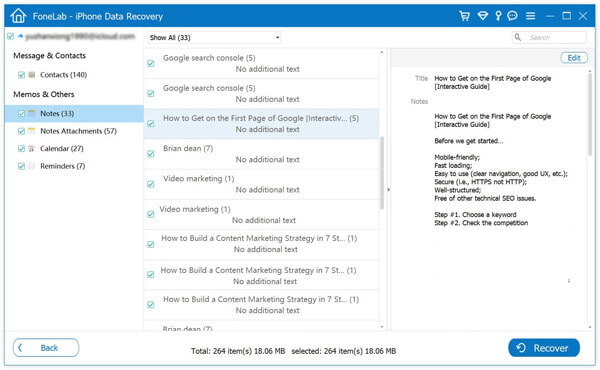
Step 3: Recover data
Select the files we need from the data displayed, check the box and click "Recover" to view the data on your iPhone SE.

Method 2: Extract lost iPhone SE data from iTunes backups
If you have ever backed up your data in iTunes to your computer, you can get it back with the help of iPhone Data Recovery.
Step 1: Open the software
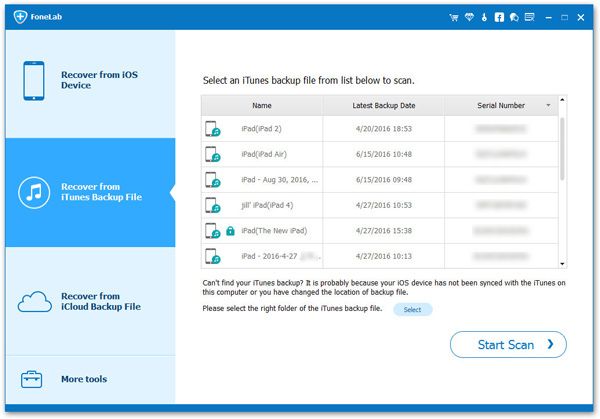
From the home page of the iPhone Data Recovery program, select "Recover from iTunes Backup". The software will then show you all the iTunes backup files on the computer.
Step 2: Scan for files
Select the date you want to recover the files, check the box and click "Start Scan".
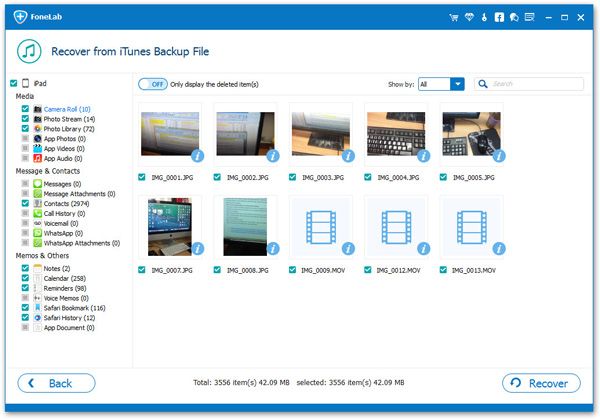
Step 3: Preview files
When the scan is complete, the data available for recovery is listed on the page. Select the desired files and click "Recover to device" or "Recover to computer" to transfer the backup files to your iPhone SE.
Method 3: With iCloud Backup, recover iPhone SE Data/Photos/Messages/Contacts/Videos
Recover data via iCloud mode with the help of iPhone Data Recover.
Step 1: Run iPhone Data Recover
Run iPhone Data Recover on your computer and select the mode "Recover from iCloud Backup Files".
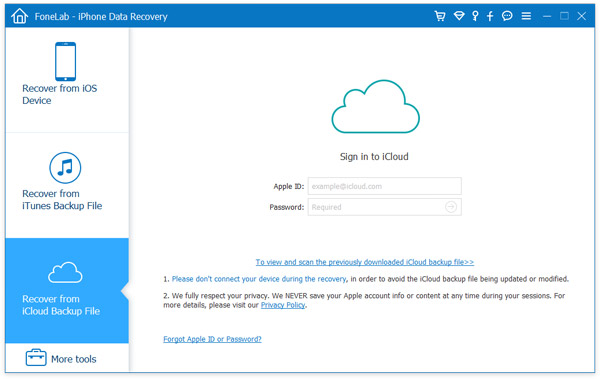
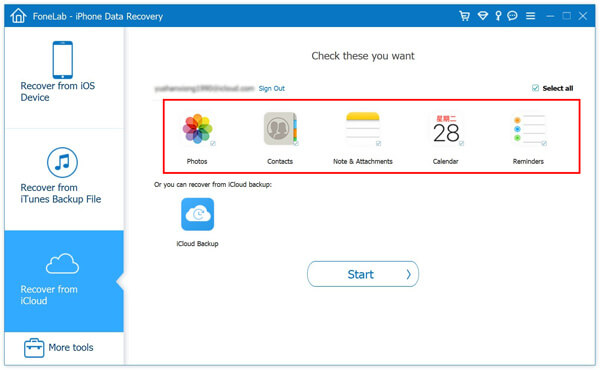
Step 2: Select the data type
Sign in to your iCloud account on the page and connect your iPhone SE to your computer. Select the type of data you need to recover on the page and click "Start".
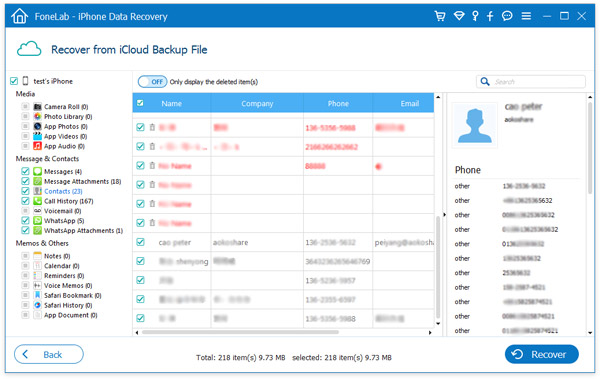
Step 3: Recover data
View the specific items scanned on the page, select the data you need to recover and click on "Recover" to transfer the lost data to your iPhone SE.
Method 4: Find iPhone SE Data/Photos/Messages/Contacts/Videos via iCloud Drive
The following method can be done directly on your phone, which is much easier and faster.
iCloud Drive is an Apple-owned product that allows you to work with selected files on your chosen device as you wish. With iCloud Drive, you can securely store all your presentations, spreadsheets, PDF files, images and any other formats on iCloud. It can be accessed on your iPhone, iPad, iPod touch, Mac or PC. You can get 5GB of iCloud storage for free.
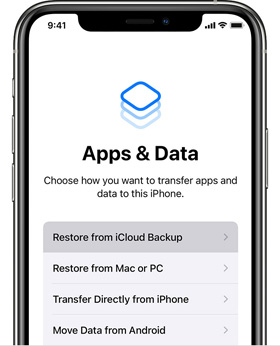
Step 1: Open iCloud Drive
On your iPhone SE, find the "Apps & Data" page and select "Restore from iCloud Cloud Backup".
Step 2: Sign in to your account
Log in to the account from which you have backed up your files.
Step 3: Transfer the data
Find the data you want to recover by looking at the date of the data, check the box and click "Recover". It is recommended to recover data under WiFi conditions.
Method 5: Restoring iPhone SE Data/Photos/Messages/Contacts/Videos via Google Drive
If you have backed up your data in Google Drive, then you can also use it to recover your files.
Google Drive is an online cloud storage service launched by Google, through which users can get 15GB of free storage space. At the same time, users can pay for more storage if they need more. The Google Drive service will be available as a local client and as a web interface, similar to that of Google Docs. It will be available for Google Apps customers, with a special domain name. In addition, Google will provide APIs to third parties to allow people to save content to Google Drive from other applications.
Step 1: Launch Google Drive
We can choose to open Google Drive through our mobile app or browser.
Step 2: Sign in to your account
Sign in to the account that you have backed up your data to.
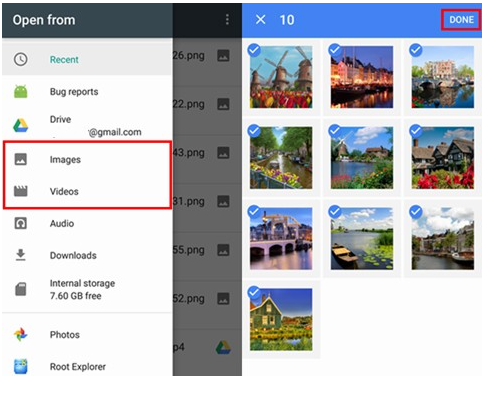
Step 3: Download files
View all the backup files displayed by the software, select the ones we need, click "Download" and you will be able to view the data recovery on your iPhone SE.