Overview: Screen Recorder is a versatile screen capture program that records pictures, screenshots, computer audio and photos. Blue light real-time coding technology ensures excellent image and sound quality.
Method 1: Record Screen On Windows with Best Screen Recorder
Method 2: Record Screen On Mac with Best Screen Recorder
Method 1: Record Screen On Windows with Screen Recorder (Recommend)
"I want to record important meetings with customers. What is the way to record screen with high quality in windows?"
Do you want to record the screen on your computer? Experts in the workplace who need screenshots for display may be software developers who want to create method videos or people who want to upload interesting things on YouTube.
Do you know the screen recorder is practical? If you want to use this screenshot game or make self-study books for people using Microsoft office, you can record working videos in almost all windows / PC / Mac applications of rap. To make it easier to use, it shows how to record the simple phase of the screen on Windows / PC / Mac.

Whether you use Windows PC, MAC, mobile phone or tablet PC, there are many reasons why you need to record pictures. You can make YouTube videos or software self-study books or prepare for business exhibitions.
You can start with a free screen recorder. Download and do not install large programs can also be recorded in the browser window screen. It all depends on what you're recording, the hardware you're using, and how much time you've been processing.
After completion, you can directly share the recording, or use screen recorder software to play the paper clip according to the length, or add a topic, or record the sound.
Next show you the best method to record screen on windows:
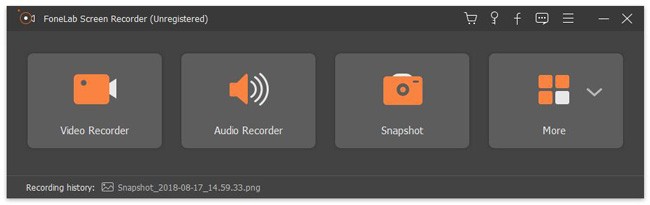
Screen Recorder must always be the first choice when you need to capture video, audio, online video, games, or edit video using the annotation tool. Now click a few times to record the video on the computer/Mac screen.
Screen Recorder is a versatile screen capture program that records pictures, screenshots, computer audio and photos. Blue light real-time coding technology ensures excellent image and sound quality.
-In order to record the activity on the screen as a high-quality custom screen size.
-Record online music and commentary in system audio and microphone.
-Capture the size you want and save the useful parts.
-Multiple editing tools, annotation components and drawing panels.


Steps to Record Screen on Windows:
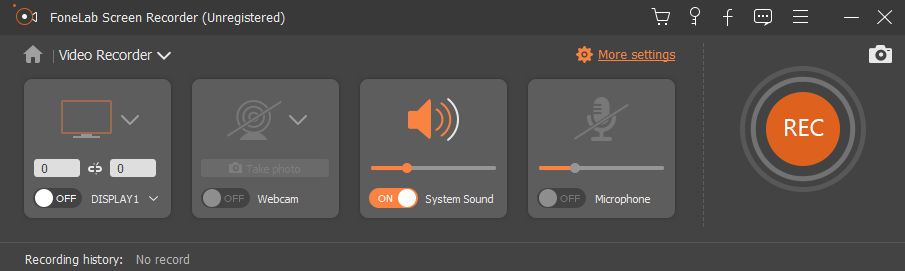
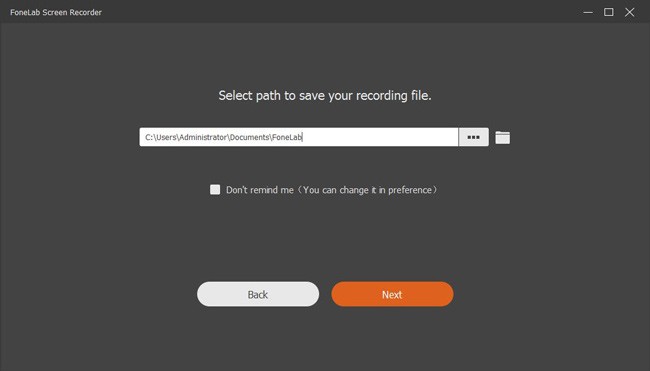
Step 1: Custom first video screen size
To install the Screen Recorder program on the computer, click the Video Recorder option. Automatically identify the recording window. You can enter pixels in windows or adjust the frame to record the selected screen.
Step 2: Screenshot of the audio file you want in the second stage
Click audio recorder to enter audio recording interface. If you need to record computer music, select system sound. The video conference needs to turn on the system sound and microphone. Then adjust the volume.
Step 3: Windows screen recording
You can book screen recording. After all the settings are completed, you can click REC button to record the screen in windows. In this process, you can take several important screenshots.
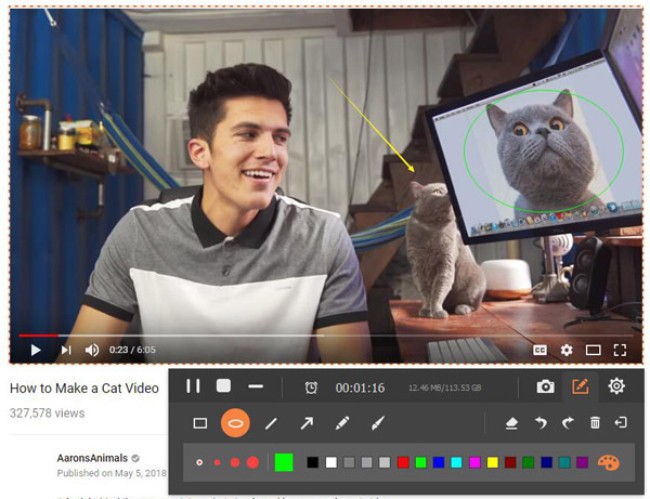
Step 4: Edit the video captured
When recording the screen, you can add annotation elements such as text, line, description line to the captured video, and adjust the color of these elements to emphasize important parts. Click rec button again, and windows will finish recording.
Method 2: Record Screen On Mac with Best Screen Recorder (Recommend)
Best screen recorder for Mac is one of the most professional screen recorders in Mac. This program will bring live streaming video, network conference, Skype chat and so on in various forms.
-Record the screen in a custom size according to your requirements.
-High quality capture of audio files from multiple sources.
-Use multiple annotation tools to edit the captured Mac screen.
-Easy to find and share captured files.
Steps to Record Screen on Mac:
Step 1: Select Screen Size
Click the third icon to select screen size, full size, fixed area or custom area. Just choose a default size or adjust the frame of the recording window to record the screen on the Mac.
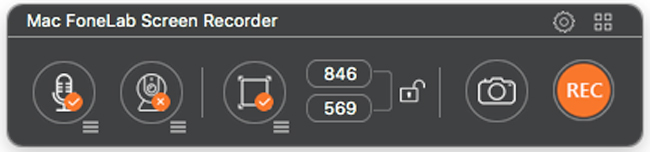
Step 2: Add built-in camera
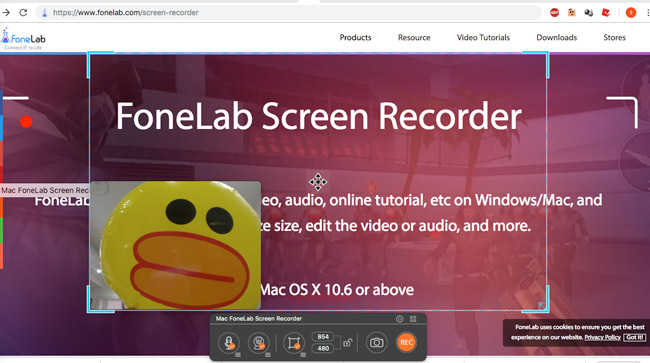
In order to play games or network meetings, if you want to take pictures on the Mac, you need to add a built-in camera to explain or display. Click the second camera icon and the FaceTime HD camera will activate.
Step 3: Audio file adjustment
Then click the audio icon to add built-in input or other audio settings to record audio from other sources. Of course, you can adjust the volume for the best results.
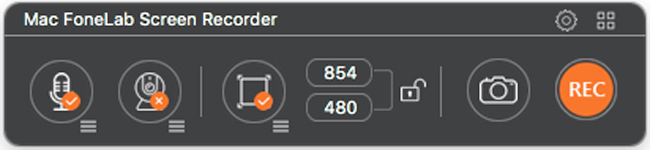
Step 4: Mac screen recording
Click the red REC button to take pictures on the Mac. Then click the Comment button to add text, lines, arrows and other elements to highlight the important points.
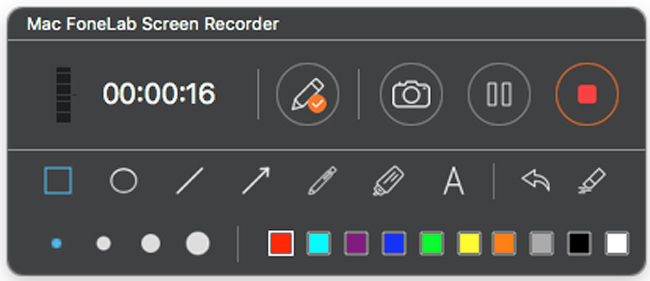
When you get some important highlights of the video or need to make a video thumbnail, you can use the camera button to click once to get a screen capture.
Other free Screen Recorder Tool but not 100% Guaranteed:
The following are some other free Screen Recorder software with very weak functions. Although they are free, they are very inconvenient to use and have insufficient functions. But we can let you refer to them so that you can make a choice according to your actual situation.
Tip 1: Recording screen with PowerPoint in Windows
If you are a PowerPoint user, you can use the built-in screen recording function, do not download other recording programs, you can also take a screenshot of windows screen.
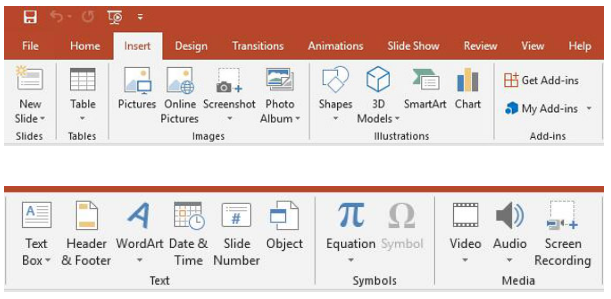
Step 1: Launch Powerpoint, Click Insert > screen recording.
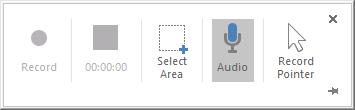
Step 2: Click to the select area, select the project to be shot, and then start recording.
Tip 2: Recording screen in Windows with default settings
Windows has a new feature for users to record screens using the basic features provided. You can confirm that the tutorial is as follows.
Step 1: Click the windows Icon > Settings > game.

Step 2: Use the game bar to open the game folder, screen capture and radio recording buttons.
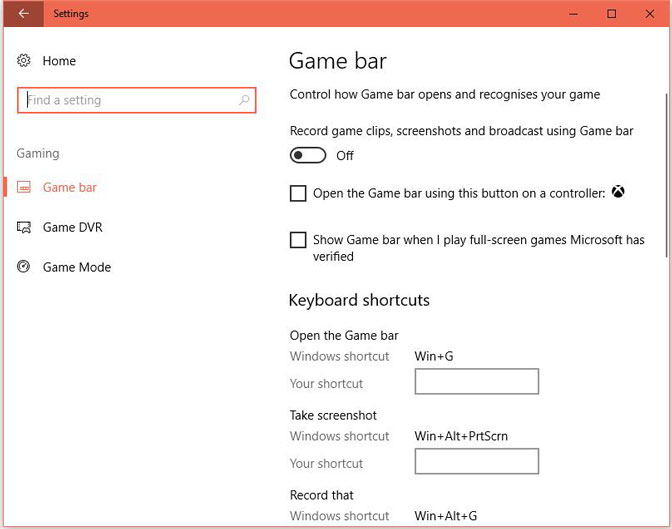
Step 3: At the same time, press the win and G keys and select the confirmation bar next to yes, this is a game. Finally, press Win + Alt + R to start recording.
Tip 3: Recording Screen on Mac with QuickTime
Step 1: Launch QuickTime
Stpe 2: File > new Screen Recording
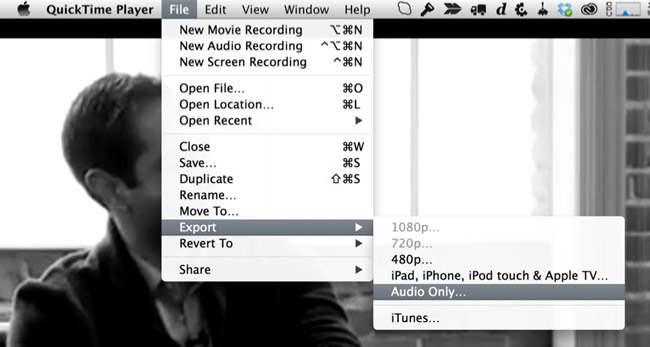
Step 3: Click red recording button to start.
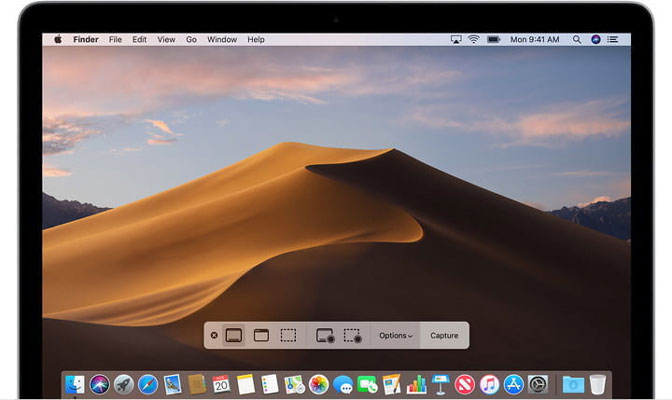
Tip 4: Recording screen in MacOS Mojave
When using Mac OS Mojave, the third option MAC has a new function of recording pictures.
Step 1: Click command + Shift + 5 to start the recording toolbar.
Step 2: Select recording area and click on the screenshot.
Step 3: Save Recording Video