Overview: Recording the Gameplay is a common thing. We can share it with video sites or show it off with friends our great game achievements. But sometimes the way to record the screen is too single, resulting in video quality is not very high. And to improve this situation, this article introduces you to a variety of ways not only to guide your how to Screen Record Dragon Age 4 Gameplay on PC/Mac, but also introduce to you other better video recording methods.
Something about Dragon Age 4:
Longteng Century 4 is a famous role-playing game produced by BioWare and released in EA. This work continues the series of pre-production game stories and excellent pictures and play, and has reached a new level in game maps, biodiversity and spell system complexity.

Catalogue:
Method 1: Screen Record Dragon Age 4 Gameplay on PC/Mac with Screen Recorder. (recommended)
Method 2: Screen Record Dragon Age 4 Gameplay on PC with the Windows Game Bar
Method 3:Screen Record Dragon Age 4 Gameplay on MAC with MAC OS.
Method 4: OBS Studio.
Method 5: Sreencast-O-Matic.
Method 1: Screen Record Dragon Age 4 Gameplay on PC/Mac with Screen Recorder. (recommended)
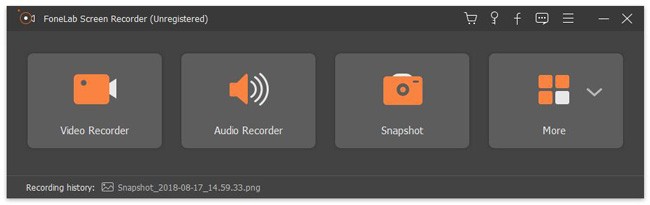
Screen Recorder is the the best Screen Recorder?for Windows/Mac. If you want to record, meetings, movies, calls, tutorials, TV shows, songs, take snapshot or others, Screen Recorder can help you do it within a few clicks. It is also the best computer Games Recorder. Of course, you can use it to record your online games including Dragon Age 4, XBox, BattleGrounds, OverWatch, World Of WarCraft, LOL and more on computer.
Some features of Screen Recorder software:
Record system or microphone voice.
Take snapshots easier.
You can edit the video or snapshot like arrow, line, text and more.
Use hotkey to start or stop the record.


Step 1: Download and install Screen Recorder software on your PC/Mac.
Step 2: Run on your Dragon Age 4 like what you do usually, and open the game.
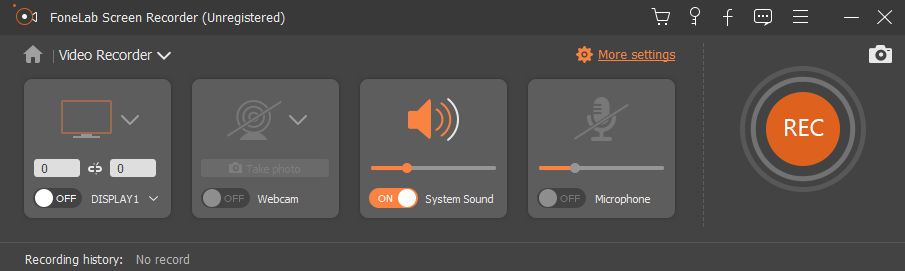
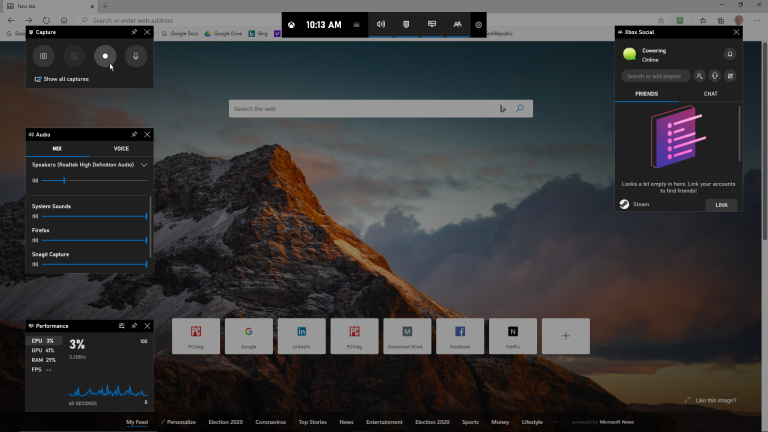
Step 3: Next, choose “Video Recorder”, tap “Full or Custom” to select the recording area which you want.
Step 4: Then, enable or disable the Webcam, System Sound and Microphone according to your need. Tap “REC” button.
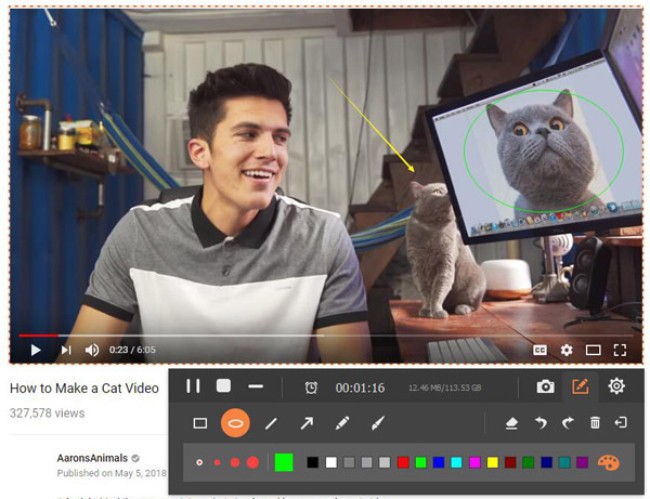
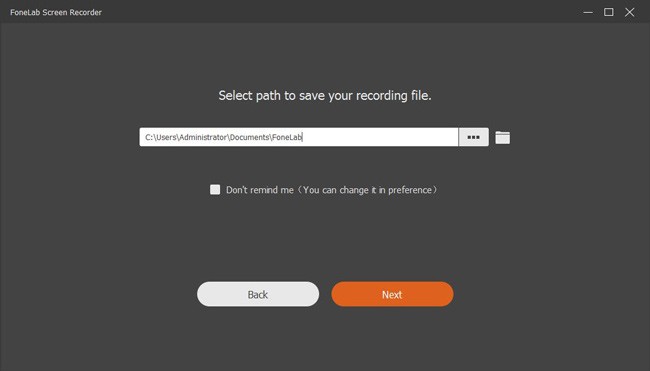
Step 5: Click “stop” icon on the taskbar when finished. If you want to save it on your PC/Mac, you can download it under the instruction.
Method 2:Screen Record Dragon Age 4 Gameplay on PC with the Windows Game Bar.
This method is a built-in video recording software in Windows 10. what’s more, Windows users do not need to download other software for the convenience of PC users to record games directly the computer.
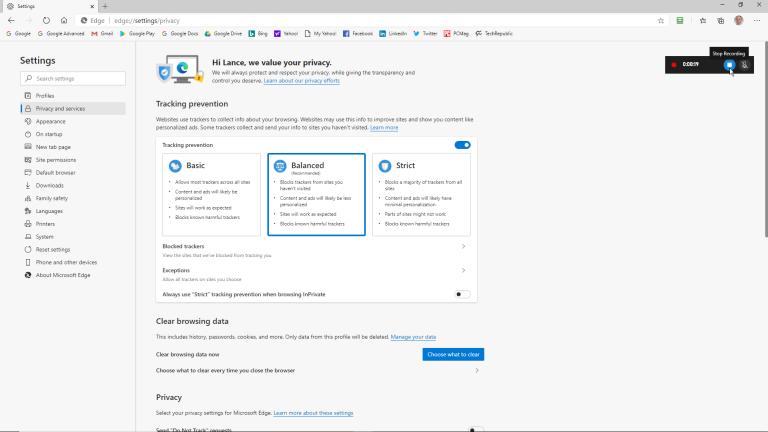
Step 1:Open your Dragon Age 4, and click on the Win+G of the computer to open the Game Bar.
Step 2:And then, click “start record" on the screen or you can press the shortcut key Win+Alt+R to start your recording.

Step 3:Next, the system will perform your Dragon Age 4 Gameplay operation. There is a floating bar in the upper right corner of the screen, which is mainly used to control records. If you want to stop recording, click the recording button in the float bar.
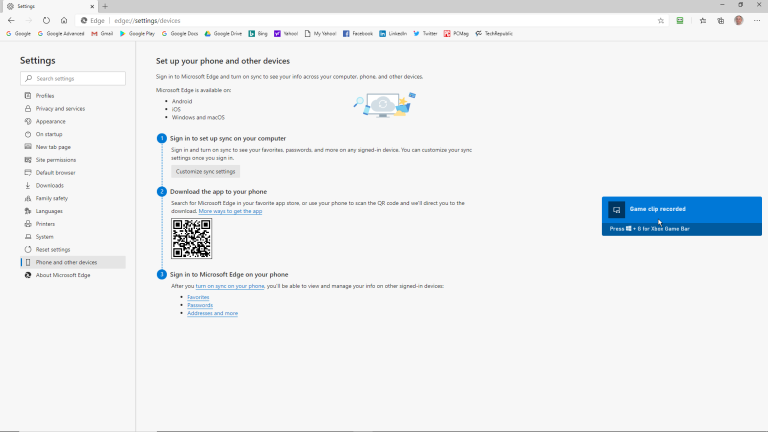
Step 4: At the end of the recording, a hint appears on the screen that "the game video has been recorded ". Then you can click on this notification and file browser to open the location of the video record. You can choose to download and save to your computer.
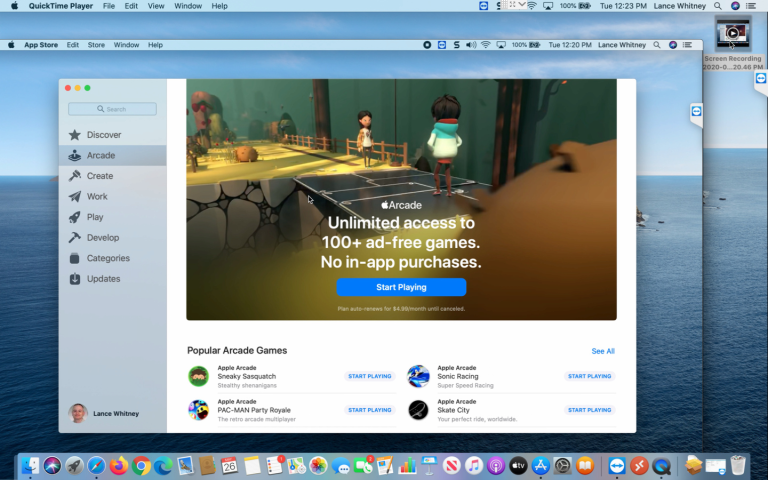
Method 3:Screen Record Dragon Age 4 Gameplay on MAC with MAC OS.
Your MAC actually comes with MAC OS of your own screen recording software. It has higher features, and you can choose any part of the screen you want to record.
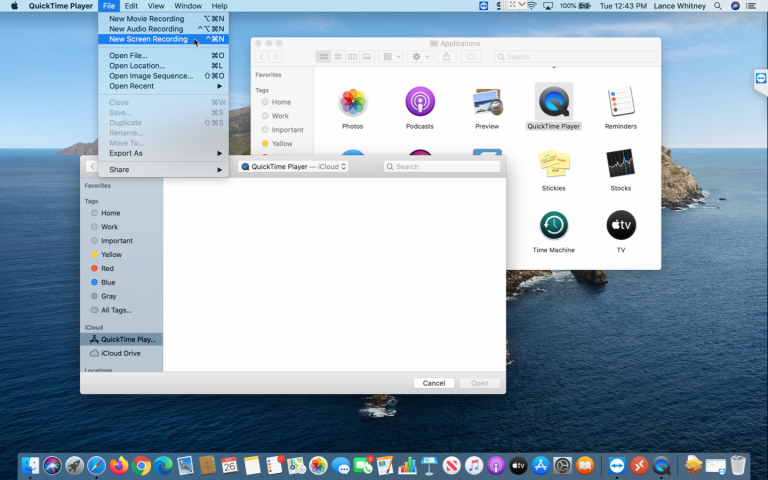
Step 1: Open your game Dragon Age 4. Then press Shift+command+5 to open the screenshot tool MAC OS of the MAC system.
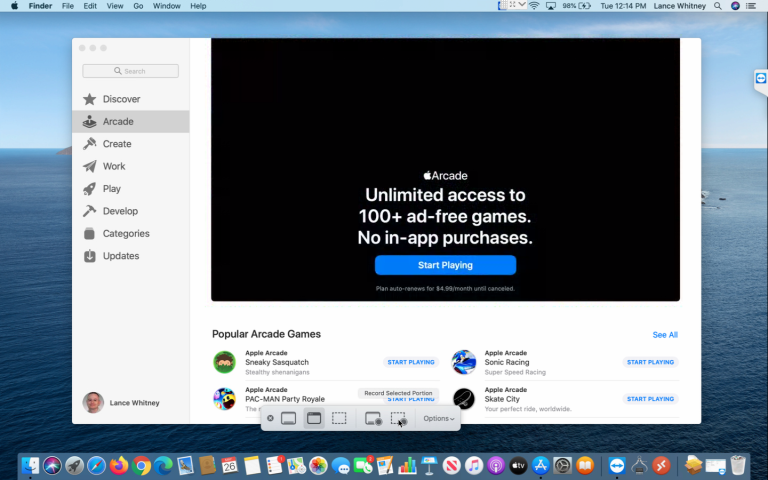
Step 2: Click the “options” button on the screen, you can first select where to save the video record, and then start the timer to start recording. Be careful to check the use of Mac microphones if you want to record your own voice while recording game videos.
Step 3: You can click “record the whole screen” or “record the selected part”, and then the system will start recording. The recording button is in the menu bar at the top of the screen.
Step 4: If you want to stop recording, click the button at the top of the screen to stop recording. Double-click your screen record file and it will open in your default video player. And you can download it and save it in your MAC.
Method 4: OBS Studio.
What is OBS Studio?
OBS Studio is a powerful free video and audio capture software. It is the most trusted software in Windows 10. Its use interface is clean, neat and easy to read. At the same time, it has interesting features, such as mixing audio and video in real time. When you use an audio mixer, you can eliminate noise by suppressing it. Besides, it can upload video directly to Facebook Live,YouTube, and other websites. When the screen is captured, you can choose the resolution of the display.
In order for you to learn more about this software, I will describe some of its advantages and disadvantages in detail.
Advantage:
It allows users to use it for free.
It allows users to live video from other mainstream media video platforms.
It supports enhancements through more than 20 plug-ins.
It has no time limit and allows users to record freely, which makes it more applicable to long-time records.
It can synchronize webcam.
Disadvantage:
It can not be used in Windows XP.
It is not friendly to beginners, and it requires some technical knowledge to operate it.
It will automatically flash back when the network is not good.
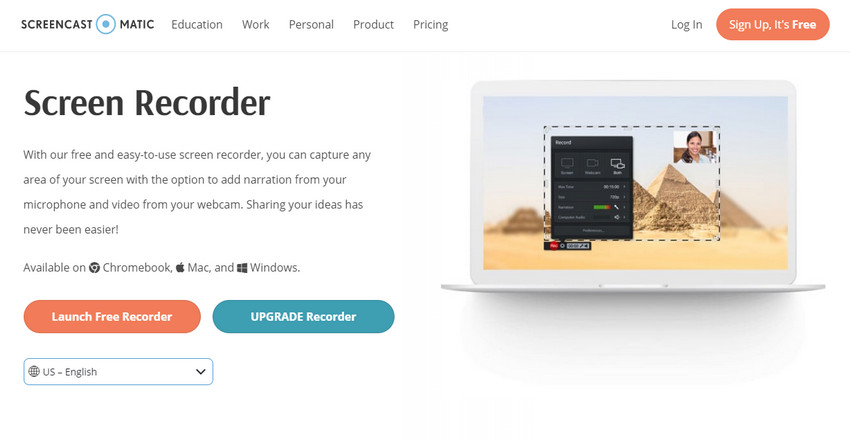
Method 5:Sreencast-O-Matic.
What is Sreencast-O-Matic?
Screencast-O-Matic is a reliable and useful screen capture software. It not only allows people to speed up the recording of the lens, but also comes with a built-in video editor, which means you can modify your video recorder to make them more attractive. And this software is usually the first choice for professionals or entertainment fans, because users can share videos directly on the YouTube without downloading them.
In order to use it better, let me present some of its advantages and disadvantages to you.
Advantages
It is compatible with both Mac and Windows.
It supports a variety of editing options, such as adding background pictures or music.
It compresses and stores video.
Disadvantage:
Its screen recording time is limited, up to 15 minutes.
Its video capture quality is a little poor.
When using the free version, the video will have watermark.
The free version does not allow users to adjust the resolution of the video.